YUM!
Showing posts with label kitchen aid. Show all posts
Tuesday, 11 February 2014
Chocolate Brownies
YUM!
Sunday, 4 August 2013
Cake Pop Recipe
Louie has been dreaming up his own cake recipes all weekend, making pretend cakes in his kitchen, in the bath, with his playdough, you name it. So I thought it might be a bit of fun to make cake pops with him. He requested chocolate but I am sure you can use whatever combination you like.
First things first is a simple sponge cake. I use my Grandmother's recipe (apparently!) whereby I weigh the eggs and use the same quantities of egg, butter, sugar and self raising flour. For me, it is completely fool proof. When making a chocolate sponge as below, I measure a little less flour and make it up with a good quality cocoa. I like the Green and Blacks cocoa, yum yum!
Spread the mixture into a shallow rectangular tin/tray and bake for around 15-20 minutes on 180oC .
Once your sponge has cooled, you can start to have fun. Take a large bowl and begin to break the sponge into breadcrumb sized pieces. Its really easy and the kids can get involved so easily. Whilst Louie did this, I set to work on the cream cheese frosting which acts as a binding agent.
I used 25g butter and 150g icing sugar which I beat with the Kitchenaid. Once that resembled breadcrumbs, add 125g of cream cheese. Beat until smooth and creamy but not runny.
Then you can begin adding this to the cake mixture. I started off dollop by dollop as I was effectively making it up as I went along. I suppose it depends how much cake you have!
It finally comes together beautifully and you are ready to begin shaping the mixture in to balls. I used an ice cream scoop to help start off the shape, and to try and give a uniform to the size of the balls (didn't work...!). I found squashing the mixture quite tight before rolling into a ball made the balls stick together rather than breaking apart.
Then you can stick the sticks in. Try not to stick them all the way through as it makes it rather tricky when you are decorating. Trial and error lead us to that one, thanks Lou!
Then you can pop them in the fridge for around two hours to set. Meanwhile, you can practice some more with playdough versions.
When they are feeling quite firm, you can begin decorating. I assumed that just coating them with chocolate would work but it was a little tricky. I used two of the larger bars of chocolate and that covered 9 pops.
Et voila!
First things first is a simple sponge cake. I use my Grandmother's recipe (apparently!) whereby I weigh the eggs and use the same quantities of egg, butter, sugar and self raising flour. For me, it is completely fool proof. When making a chocolate sponge as below, I measure a little less flour and make it up with a good quality cocoa. I like the Green and Blacks cocoa, yum yum!
Spread the mixture into a shallow rectangular tin/tray and bake for around 15-20 minutes on 180oC .
Once your sponge has cooled, you can start to have fun. Take a large bowl and begin to break the sponge into breadcrumb sized pieces. Its really easy and the kids can get involved so easily. Whilst Louie did this, I set to work on the cream cheese frosting which acts as a binding agent.
I used 25g butter and 150g icing sugar which I beat with the Kitchenaid. Once that resembled breadcrumbs, add 125g of cream cheese. Beat until smooth and creamy but not runny.
Then you can begin adding this to the cake mixture. I started off dollop by dollop as I was effectively making it up as I went along. I suppose it depends how much cake you have!
It finally comes together beautifully and you are ready to begin shaping the mixture in to balls. I used an ice cream scoop to help start off the shape, and to try and give a uniform to the size of the balls (didn't work...!). I found squashing the mixture quite tight before rolling into a ball made the balls stick together rather than breaking apart.
Then you can stick the sticks in. Try not to stick them all the way through as it makes it rather tricky when you are decorating. Trial and error lead us to that one, thanks Lou!
Then you can pop them in the fridge for around two hours to set. Meanwhile, you can practice some more with playdough versions.
When they are feeling quite firm, you can begin decorating. I assumed that just coating them with chocolate would work but it was a little tricky. I used two of the larger bars of chocolate and that covered 9 pops.
Et voila!
Tuesday, 5 March 2013
Homemade Rustichella
Rustichella, one of our favourite pizzas recreated at home.
For the Dough
550g Strong White Bread Flour
7g Active Yeast
2 Tbsp Olive Oil
1 Tsp Light Brown Sugar
320ml Warm Water
Method
Mix the yeast, olive oil and sugar into the warm water. Stir until combined and leave for 2-5 minutes or until the mixture begins to bubble or froth.
In a bowl, make a well with the flour. Gradually pour in the water mixture, drawing the flour in from the edges. Once combined, knead until you have a springy and smooth ball.
Flour a bowl and cover with a tea towel and leave somewhere warm until doubled in size.
A base of chopped tomatoes, a sprinkling of cheddar, torn ham, cherry tomatoes and a generous helping of mascarpone before putting in the oven for 10-15 minutes.
For the Dough
550g Strong White Bread Flour
7g Active Yeast
2 Tbsp Olive Oil
1 Tsp Light Brown Sugar
320ml Warm Water
Method
Mix the yeast, olive oil and sugar into the warm water. Stir until combined and leave for 2-5 minutes or until the mixture begins to bubble or froth.
In a bowl, make a well with the flour. Gradually pour in the water mixture, drawing the flour in from the edges. Once combined, knead until you have a springy and smooth ball.
Flour a bowl and cover with a tea towel and leave somewhere warm until doubled in size.
Take the dough and knock it back gently. Divide into three/four equal balls and then pull the ball out with your hands to stretch into a pizza base. Leave in the fridge for 10 minutes before adding your toppings.
A base of chopped tomatoes, a sprinkling of cheddar, torn ham, cherry tomatoes and a generous helping of mascarpone before putting in the oven for 10-15 minutes.
Once out of the oven, add a generous handful of rocket, a few shavings of parmesan and a splash of Caesar dressing.
Our twist on one of our favourite restaurant meals! Enjoy!
Tuesday, 29 January 2013
Caramel Cupcakes
What is a party without some very cute and very tasty cupcakes? Always looking for new recipes, I decided to make Caramel Cupcakes for Louie’s woodland themed birthday.
Making pretty cupcakes is always a little tricky for me (I think its my inner perfectionist), but I was surprised that the recipe was so easy, replacing the usual caster sugar with muscovado sugar giving the cupcake its caramel flavour. If caramel cupcakes aren’t your cup of tea (although, they are very good with a cup of tea!) you can find lots of other cupcake recipes here.
After combining all of the ingredients together, they went into the oven and that was the easy part out of the way. If you are new to baking, there are some great tips over on the Baking Mad website, including a nifty little video showing you how to make cupcakes.
20 minutes later, 12 perfect little buns came out of the
oven. After leaving them to cool, I began to make the frosting, so they looked
like proper little cupcakes. The golden icing sugar gives a great depth of
flavour to the icing without the need for anything fiddly. Of course, Louie
decided it looked like too much fun so he decided to help me out.
And there we have it. Twelve (almost) perfect cupcakes fit for a 3rd birthday party and goodness, they were very yummy!
Photo an Hour
7:30am
8am
9am
9:30am
10am11am
12am
1pm
2pm
3pm
4pm
6pm
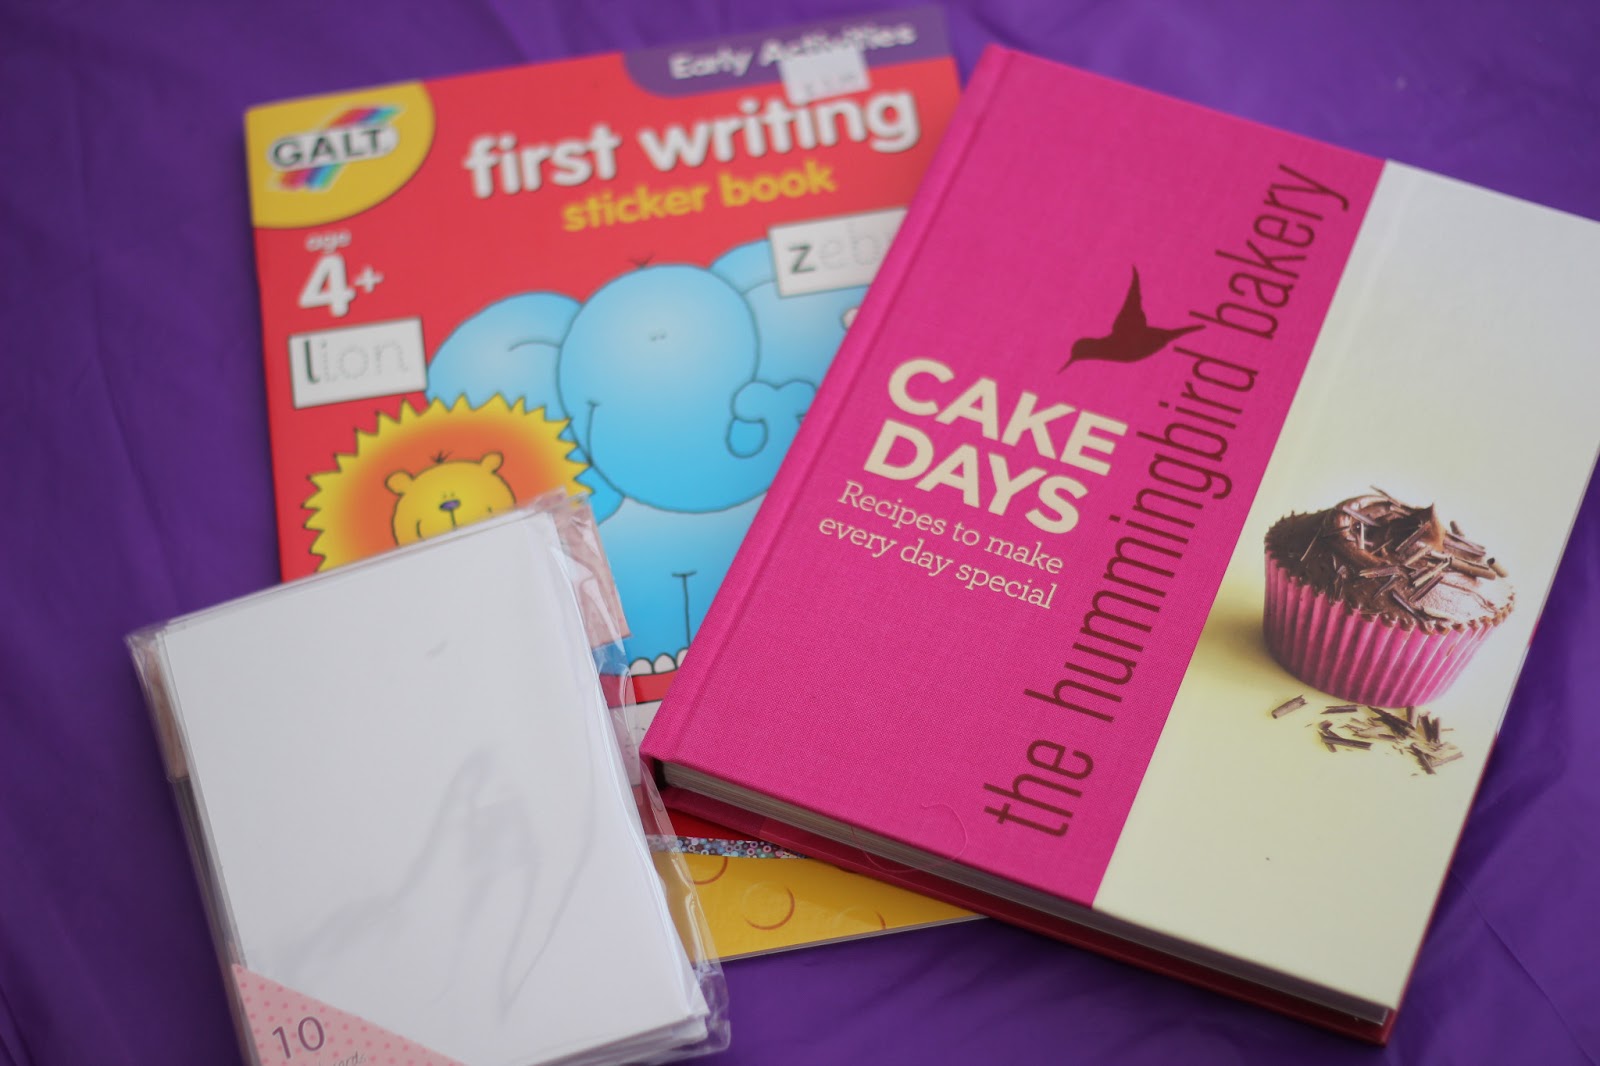
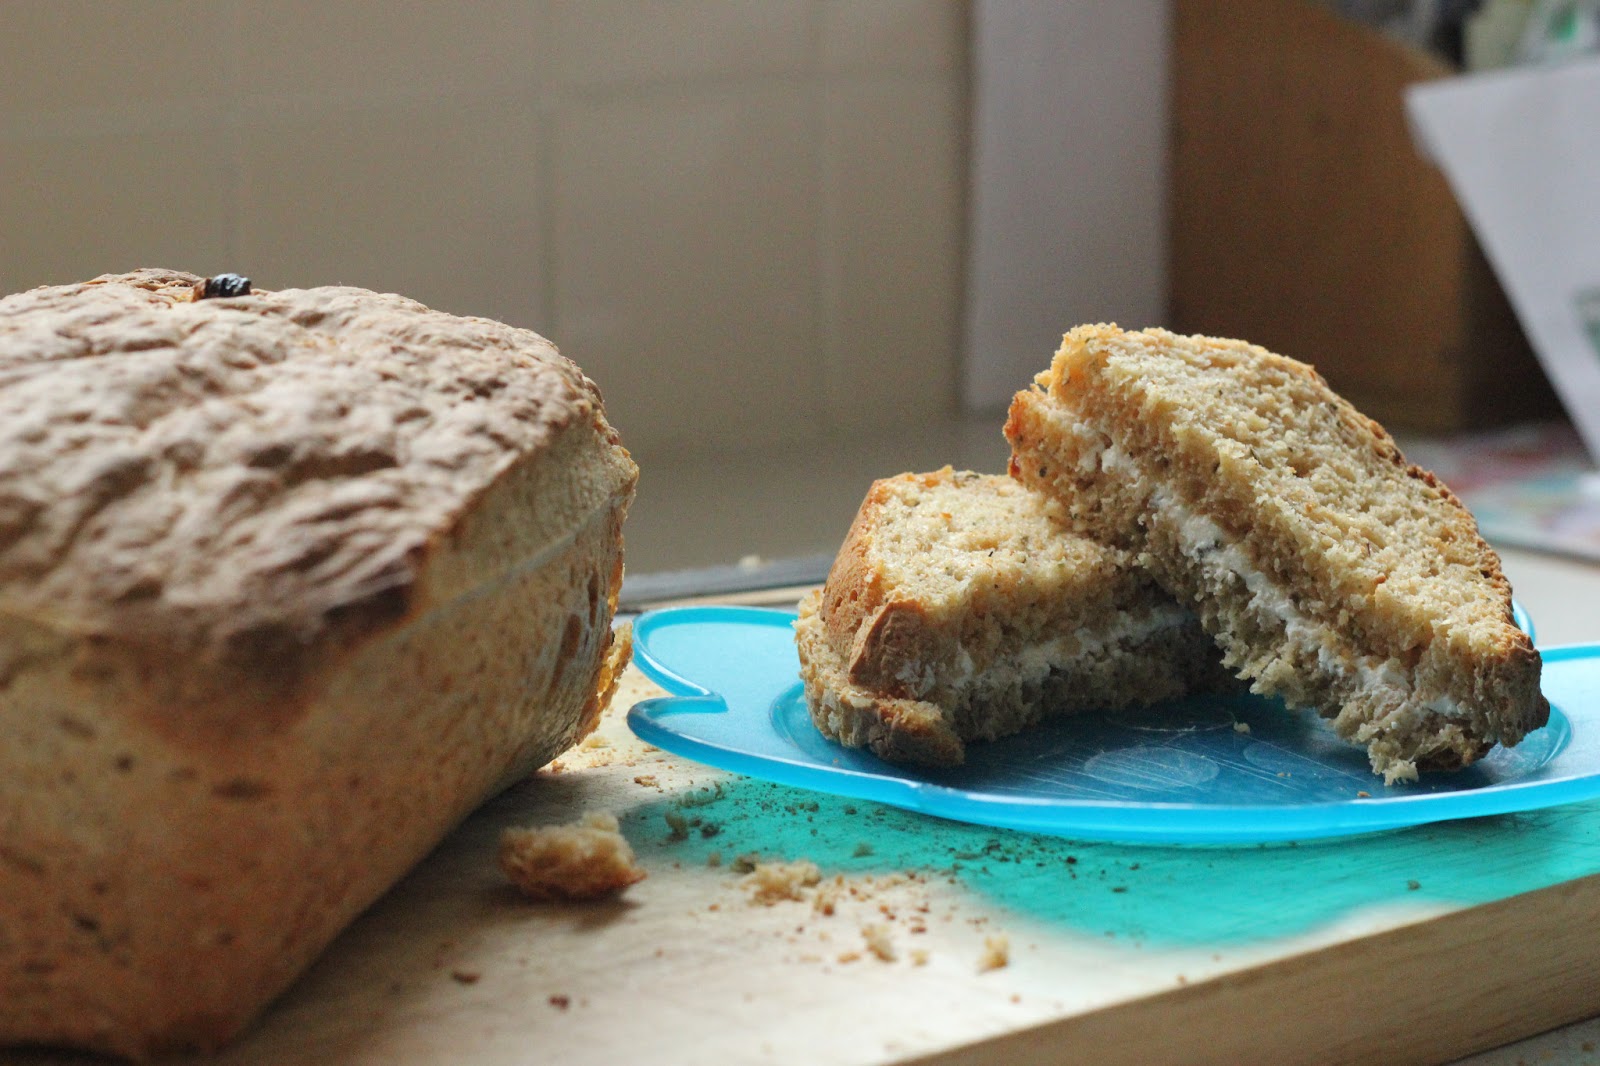
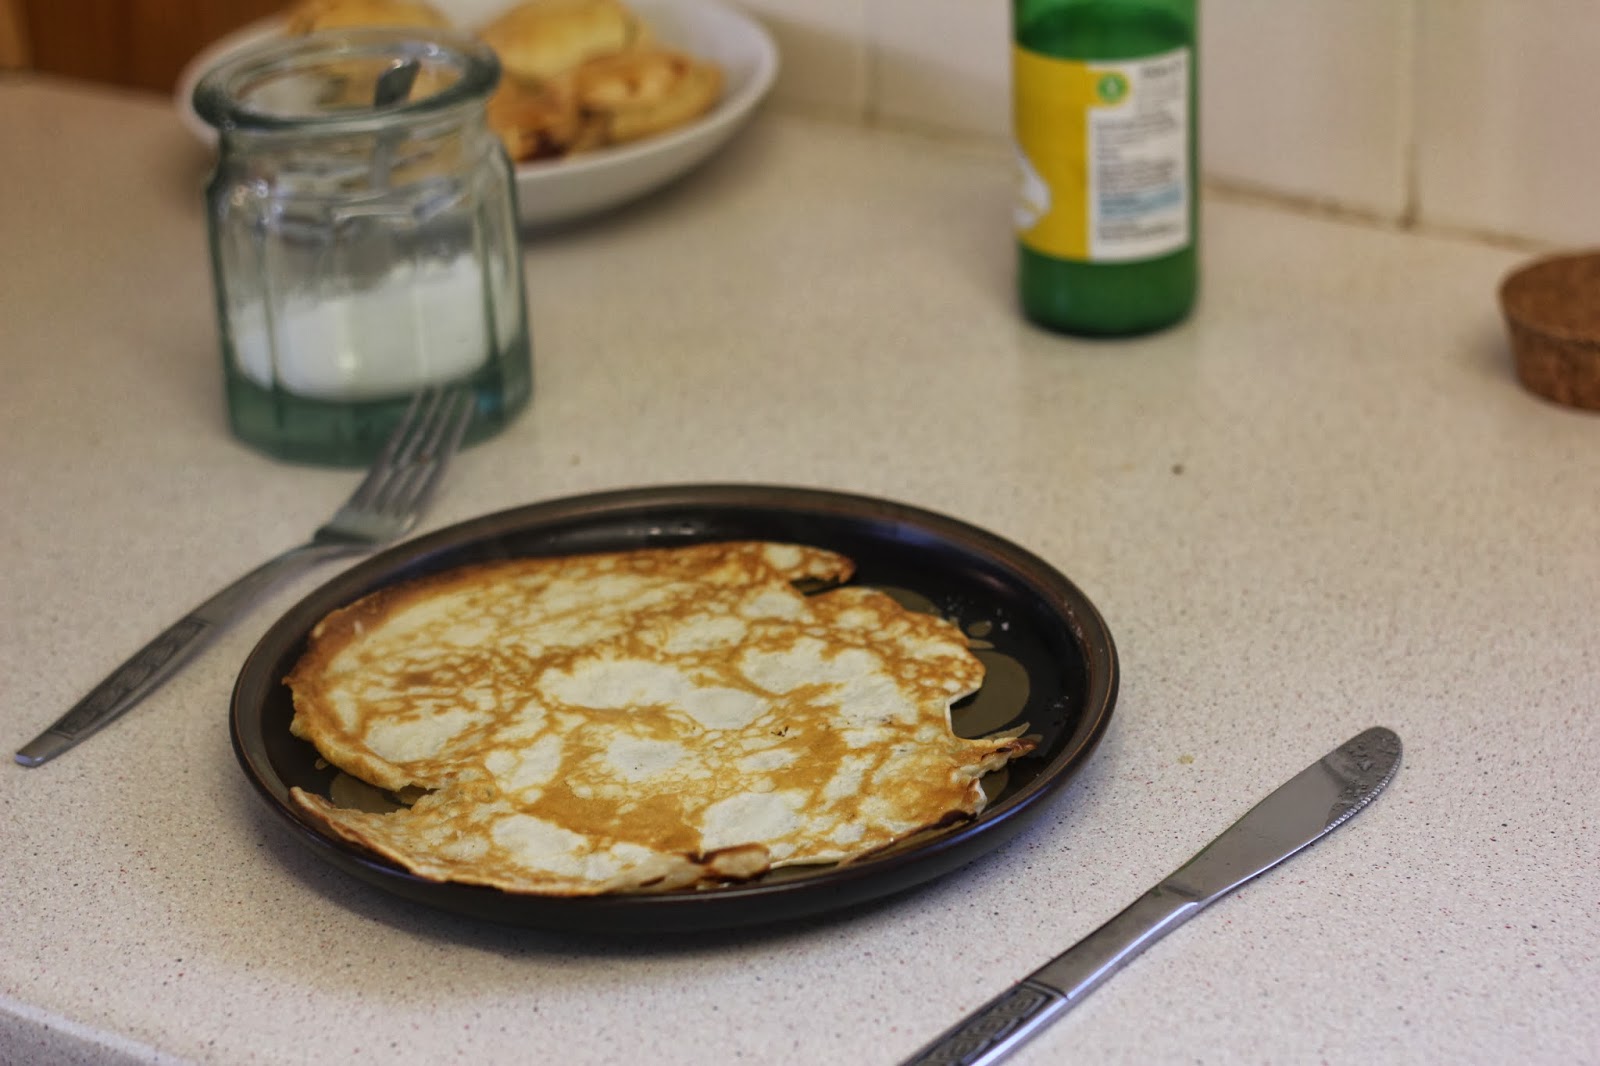
Playing in the tent, baking bread, breakfast, marble run play, shopping for books and cards, naptime, lunch, making thank you cards, painting, playing with the bees, fixing the car, bath.
Subscribe to:
Posts (Atom)