Showing posts with label playdough. Show all posts

Sunday, 6 October 2013


Waking up to sun streaming through the windows, today was all about our Mr Bee. 
Picking conkers from on the lawn, a family visit to the cinema to watch 'Planes', painting with puffy paints around the dining table, replenishing the playdough stock and preparing activities for during the week and watching nature documentaries.  
What a beautiful autumnal day.

Sunday, 4 August 2013

Cake Pop Recipe

Louie has been dreaming up his own cake recipes all weekend, making pretend cakes in his kitchen, in the bath, with his playdough, you name it. So I thought it might be a bit of fun to make cake pops with him. He requested chocolate but I am sure you can use whatever combination you like.

First things first is a simple sponge cake. I use my Grandmother's recipe (apparently!) whereby I weigh the eggs and use the same quantities of egg, butter, sugar and self raising flour. For me, it is completely fool proof. When making a chocolate sponge as below, I measure a little less flour and make it up with a good quality cocoa. I like the Green and Blacks cocoa, yum yum!
Spread the mixture into a shallow rectangular tin/tray and bake for around 15-20 minutes on 180oC .

 Once your sponge has cooled, you can start to have fun. Take a large bowl and begin to break the sponge into breadcrumb sized pieces. Its really easy and the kids can get involved so easily. Whilst Louie did this, I set to work on the cream cheese frosting which acts as a binding agent.
I used 25g butter and 150g icing sugar which I beat with the Kitchenaid. Once that resembled breadcrumbs, add 125g of cream cheese. Beat until smooth and creamy but not runny.
Then you can begin adding this to the cake mixture. I started off dollop by dollop as I was effectively making it up as I went along. I suppose it depends how much cake you have!
 It finally comes together beautifully and you are ready to begin shaping the mixture in to balls. I used an ice cream scoop to help start off the shape, and to try and give a uniform to the size of the balls (didn't work...!).  I found squashing the mixture quite tight before rolling into a ball made the balls stick together rather than breaking apart.
Then you can stick the sticks in. Try not to stick them all the way through as it makes it rather tricky when you are decorating. Trial and error lead us to that one, thanks Lou!
 Then you can pop them in the fridge for around two hours to set. Meanwhile, you can practice some more with playdough versions.
When they are feeling quite firm, you can begin decorating. I assumed that just coating them with chocolate would work but it was a little tricky. I used two of the larger bars of chocolate and that covered 9 pops.
 Et voila!


Wednesday, 31 July 2013

Life Lately


A slow week. Literally.
With my joints getting increasingly worse, we have had to slow down considerably. Staying close to home and finding things to do.
A day at the farm playing with Papa, table top activities; playing playdough with Isaac and practicing lots of writing and drawing.
Baking home made sausage rolls and my famous chilli con carne. 

Friday, 22 February 2013

How to Make Playdough

If there is one thing that everyone always asks me, it is 'How do you make your Playdough?'. And of course, my answer is always 'It is so easy!' !!

Yes, playdough is readily available from supermarkets and toy shops, but bother when you can make some yourself. It only takes 5 minutes to whip up and costs mere pennies. So here is how you can make your own batch of perfect playdough.

You Will Need:

1 Cup of Plain Flour
1 Cup of Warm Water
1/4 Cup of Salt
1 Tsp Oil
2 Tsp Cream of Tartar

All you need to do is pop all the ingredients in a medium saucepan and stir until combined. It should be a wet gloopy consistency. Then turn on the hob to a moderate heat and continue stirring gently. After 2-3 minutes, the mixture should begin to thicken. Once the mixture has lost all of its water and has come together you can take it off the heat and tip it out onto a surface.
Leave the playdough for a minute or two to cool (otherwise you will burn your hands!) and then you can begin to knead the dough to bring it together. This is where you can add your colouring.
Any food colouring will do the job, gels tend to be better than liquids but it doesn't really matter. Flatten the dough slightly and press your finger gently to make a slight well, then put the colouring in (a little at a time is advisable!) and then fold it all over and begin to knead. That way your hands wont turn orange or green ;)

Playdough is such great fun as it really sparks the imagination, as well as encouraging motor skills. I think I first made playdough for Mr Bee when he was a little over a year. Armed with cookie cutters and a butter knife, he explored the textures and practiced cutting. Now, he has a branded toy which he loves to play with, creating new textures and shapes with the moulds.

When you are done, just store in an airtight container and it will last for ages!


Sunday, 18 November 2012

Frosty


It was an absolutely beautiful, frosty morning. Crisp and chilly.
We wrapped up warm and headed out on a wintery morning walk through the fields. The frost made everything look so beautiful, especially the fallen leaves. A reminder of our first date, four years to the day. Although, it was a lot less windy and there was no sea in sight!
An afternoon of playdough and car fixing before the ritual Sunday Roast for dinner.

After the bee is asleep, a trip down to the pub for a little tipple and no doubt plan our exciting date on Friday!

Saturday, 16 June 2012

Lazy Saturday

 Fathers Day Baking
 Playdough Playing

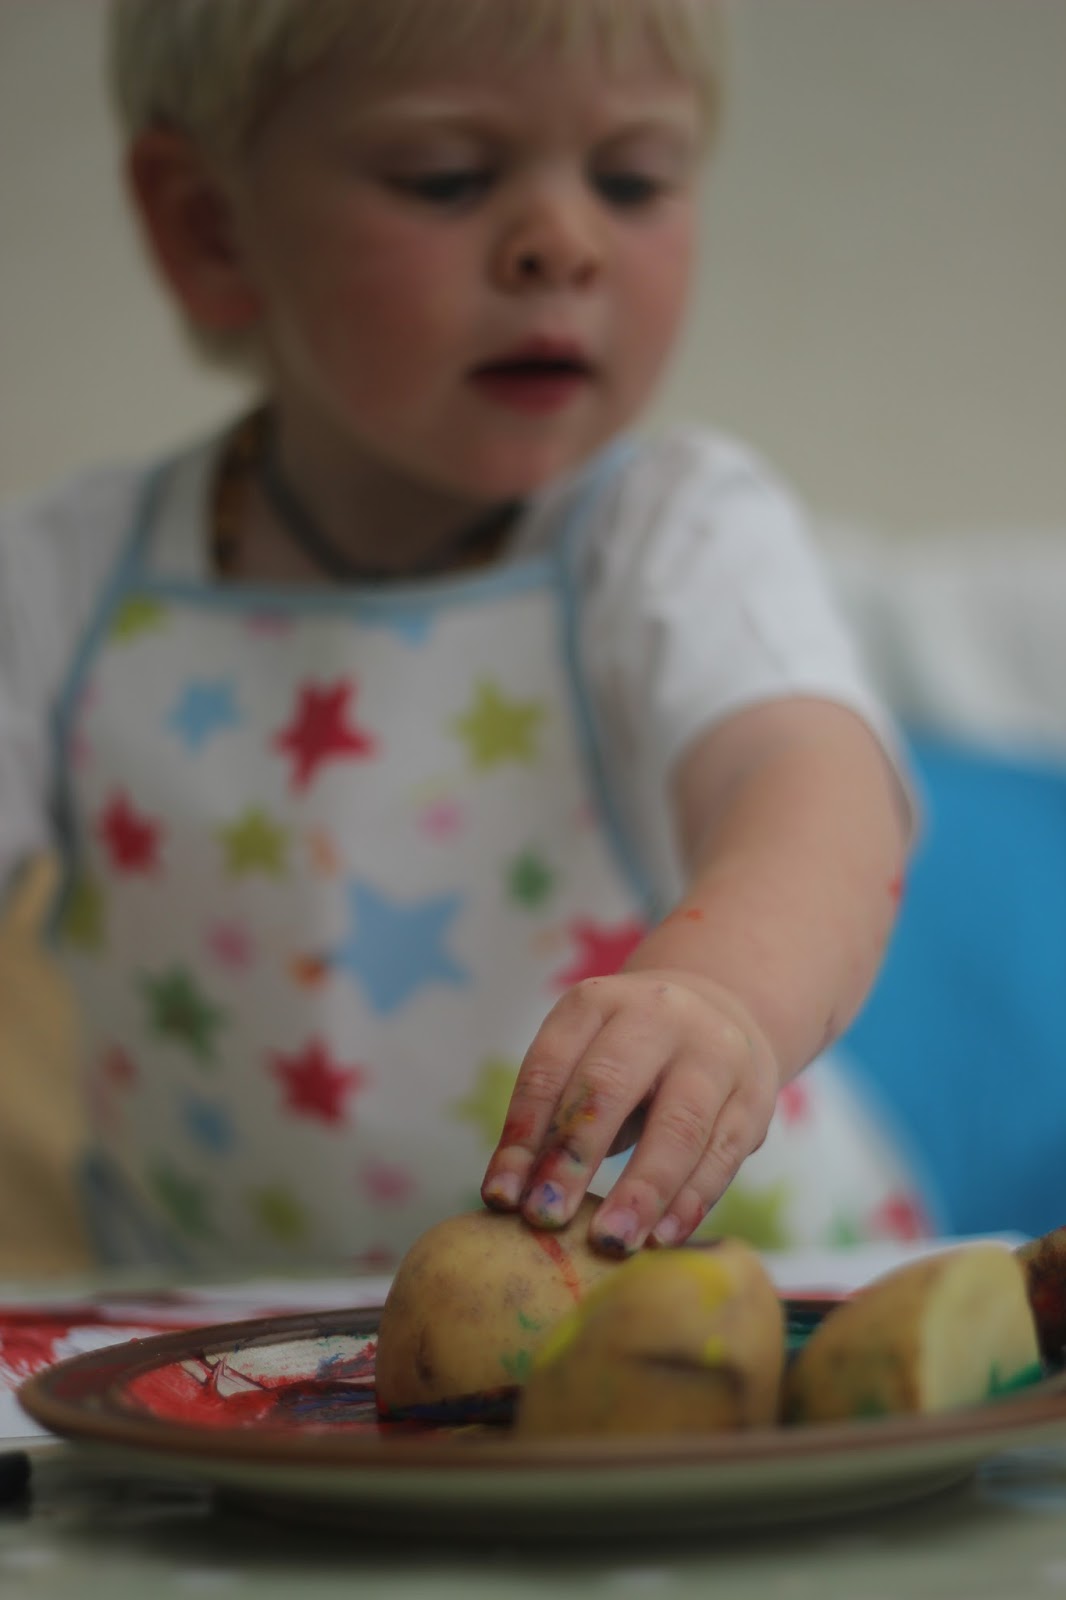
Potato Printing
Card Making

Thursday, 5 April 2012

Yesterday


Yesterday afternoon we stayed in and watched Bear Grylls, ate Welsh Rarebit (made beautifully by Papa) played playdough and made muffins.
Today we go to Peterborough to stay with Vito and Becka. Excited doesn't cover it!
Related Posts Plugin for WordPress, Blogger...